ライブスティーム用、井笠風客車 (18) |
Carraiges for Live Steam (18) |
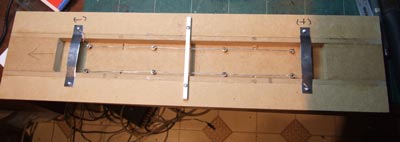 |
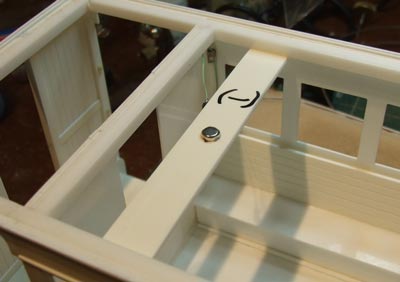
I installed brass wood screws to the roof inside and soldered copper wires for the room lamps. The wiring was connected to the tin plates. The styrene square rod installed at the centre prevents the body squashed when held at the centre. 屋根板に真鍮木ネジをねじ込み、室内灯用の配線をハンダ付けした。配線はマグネティック・コネクタ用のメッキ鋼板に接続。真ん中のスチロール棒は客車ボディーをつかんだ時に中央が凹むのを防ぐたものもの。 |
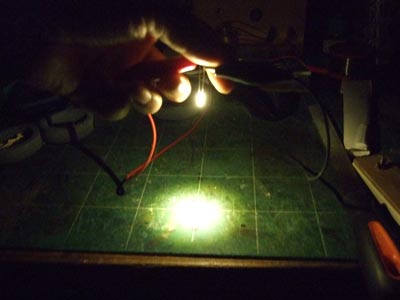 |
I used incandescent-coloured LED’s for room lamps. I used diffusion caps to defuse the light before. However I saw an article in one modelling site, that light from the LED can be defused if the top of the LED filed flat. 室内灯は電球色LEDを使用するが光の広がる範囲が小さい。以前は光拡散キャップを使用したが、LEDの頭を削ってしまえば光が拡散するようになるとどこかのサイトで読んだ。 |
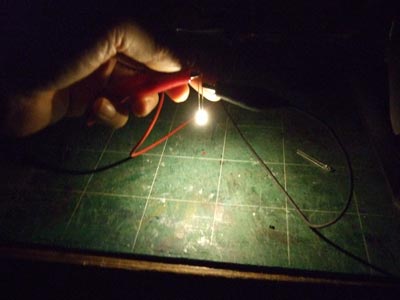 |
I tried this idea. It worked quite well. 試しに一個削ってみた。かなり良く拡散する。拡散キャップよりいいんじゃなかろうか?これで行くことにする。 |
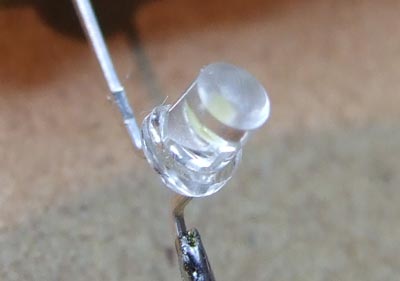 |
This is the LED with flattened top. I finished it with 1200 grit sandpaper. これが頭を削ったLED。一応1200番のサンドペーパーで仕上げておいた。 |
 |
I installed magnetic connectors to the body for electrical connection and roof holding. The connectors are not available anymore and these were the last stock I had. I may need to make them in future. 車体側はマグネティック・コネクタを使用。実はこの部品入手できなくなってしまった。今回使ったのが最後の分。今後は自分で作りゃなならん。 |
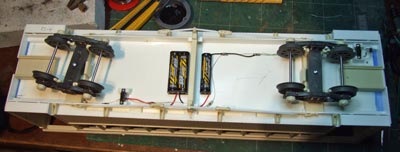 |
I installed 3 AAA batteries and switches under the floor. 床下に単四3本と室内灯、尾灯用のスイッチを取り付け配線。 |
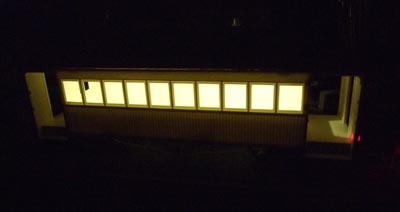 |
Testing the lamps. 室内灯、尾灯の点灯試験。 |
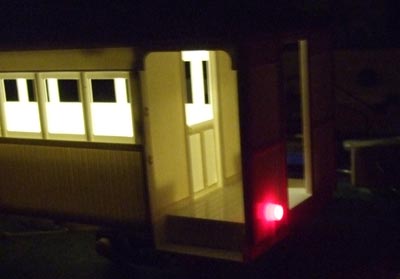 |
Light from the tail lamp leaks through resin and styrene. I hope painting may stop the light. 尾灯の光がスチロール板、レジンを通して漏れている。塗装すればだいぶ防げると思うが、大丈夫かなー。 |